Ready to create your first Ruff project? Let’s turn on the LED on the Ruff development board.
Prerequisites
- In order to get started, you’ll need the Ruff development kit. If you don’t yet have it, you can order it online.
Suggestion: Before you start Ruff journey at the first time, please upgrade your firmware to get lastest features.
- If you have any problem, refere to Trouble Shooting please.
Step 1: Downloading and Configuring Ruff SDK
- Download Ruff SDK and extract the contents.
- Now execute
rap --versionin the command line. If the version of rap is printed as expected,PATHhas been successfully configured.
Note: Ruff SDK contains two executable files: rap and ruff. rap is the development toolkit with features like device pairing, application initialization, and driver and module managing. ruff is the runtime of Ruff. The PC version of ruff targets testing and simulation.
Step 2: Creating “Hello Ruff” Project
Open your favorite project folder and run the following commands (excluding comments starting with #):# Create a project folder
mkdir hello-ruff
# Change to this folder
cd hello-ruff
# Initialize a Ruff application
rap init
Fill in information as prompted. You can use default values for all fields.? app name: hello-ruff
? version: 0.1.0
? description: Hello, Ruff!
? author: Nanchao Inc.
rap will initialize the project, download configuration for the development board.
Step 3: Developing an Application
- Open
index.jsfile undersrcfolder with any editor. You will see the sample code created during initialization:
; |
These lines of code turn on the red onboard LED after the application starts (the ID of the LED is led-r, and # instructs to query via device ID) and turn it off when the application exits.
Step 4: Connecting a Device
- First, connect the micro USB port on the Ruff development board with a USB power cable. The Ruff development board will now boot up into RuffOS.
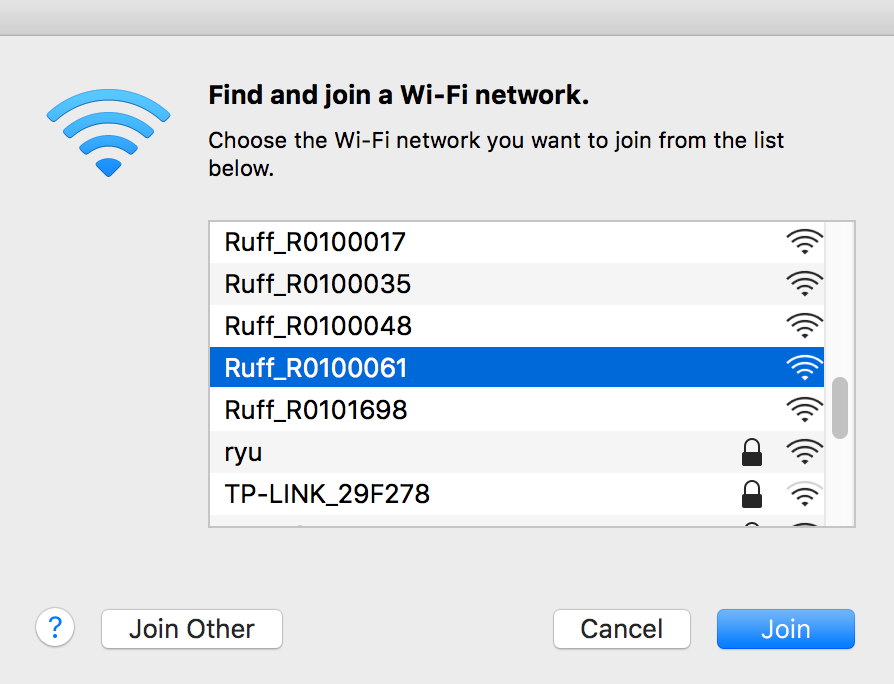
- After development board boots up, it will setup a hotspot named as
Ruff_[S/N]([S/N]is a serial number of the board). Connect your computer to this hotspot. The hotspot does not provide no internet access.
Step 5: Deploying the Application
It’s time to deploy your application. Run the following command:rap deploy -s
If everything goes well, you should see the red onboard LED lit up after the application starts successfully.
Congratulations! Your first Ruff application is up and running!
Next Step
Adding a device is an important step for IoT application. Visit here to continue your Ruff journey.